

DIY Weaving with Project Create
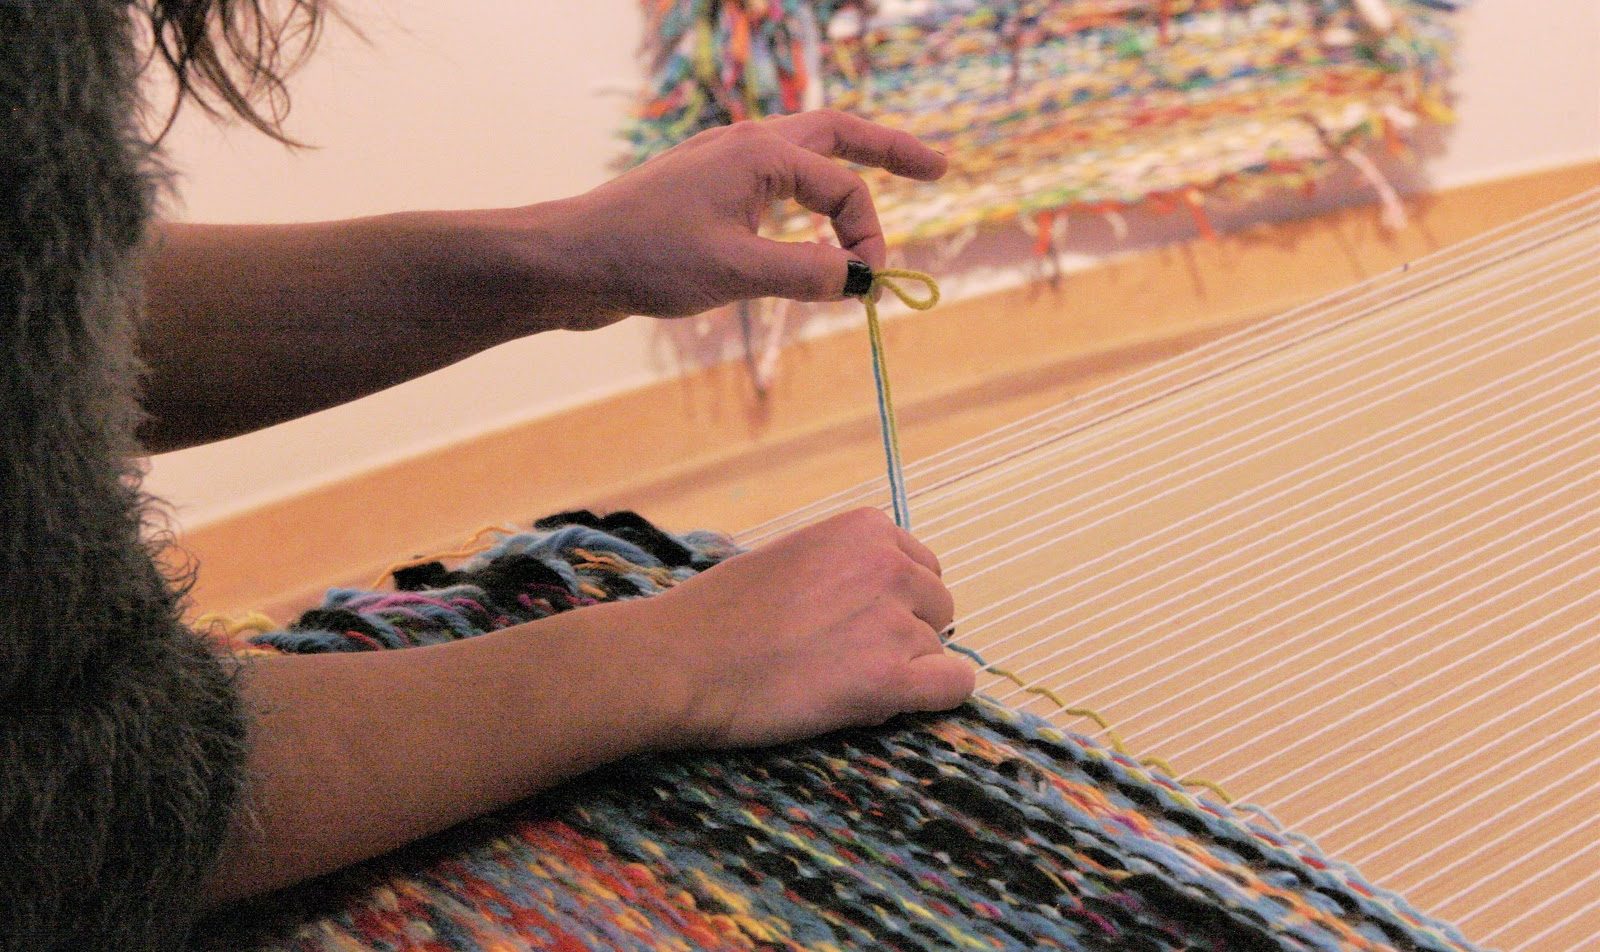
 Visitors to the Project Create workshop in recent weeks may have observed our ongoing community weaving project–or maybe even added a few rows themselves!
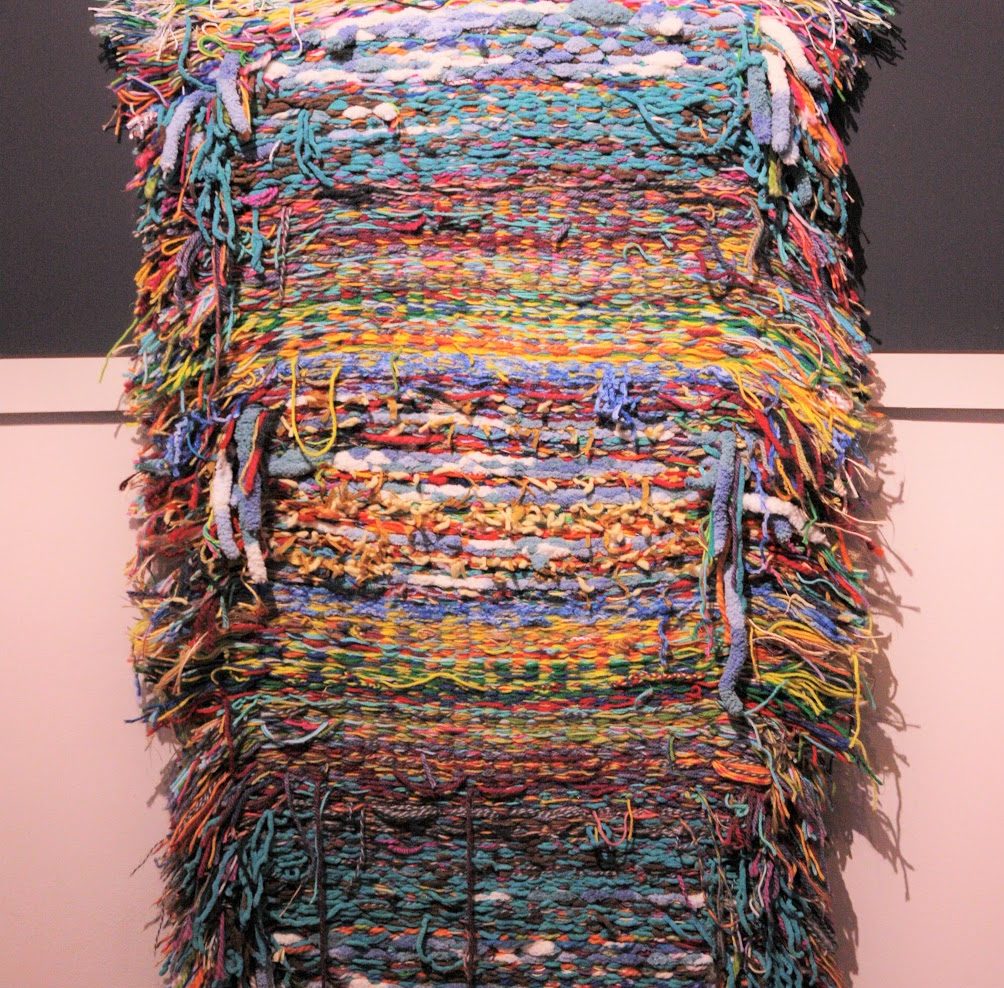
This is our second visitor-created tapestry–the first one, on display in the workshop, took six months and thousands of hands to complete.
 For home-bound makers, this individual-sized, DIY version of our tapestry loom is the ideal activity for a rainy afternoon. The possibilities for experimenting with color, pattern, and unconventional materials are endless, and the loom can be re-used for future projects.
Supplies
-Small, rectangular piece of cardboard, ideally around 5”x7”
-Scissors
-Ruler
-Yarn or found materials for weaving
-Tape
-Tapestry needle (optional)
Instructions
Prepare the loom
Make a mark every half-inch on the shorter sides of the cardboard, then cut a notch using scissors or an x-acto knife. The notches should measure at least a half-inch deep, depending on the thickness of the yarn you plan on using.
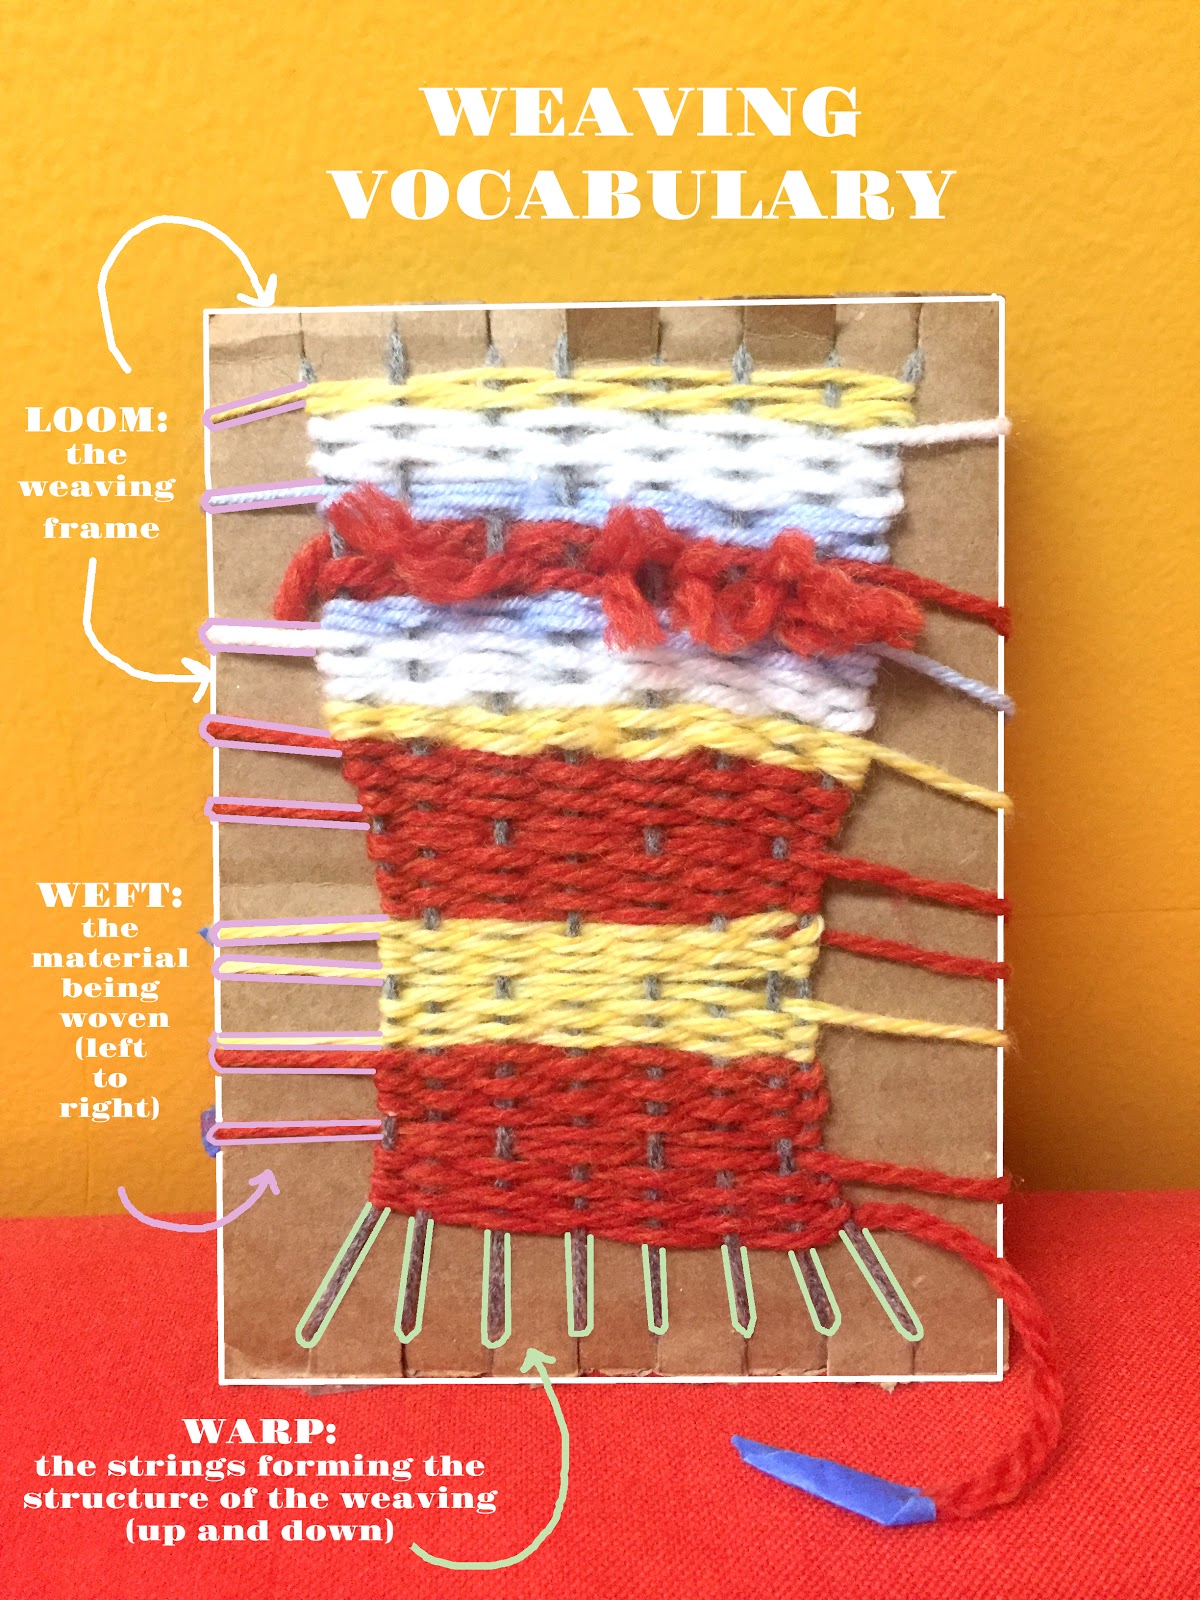
Warp the loom: Measure a length of yarn that is at least five times the length of your loom to serve as the “warp”, or structure, of your loom. Starting at one corner, tape down an end of the yarn to the back of your loom, then wrap the yarn across the face of your loom, looping around the opposite notch. Repeat until you have wrapped the entire loom.
You are now ready to weave!
Follow an over-under pattern across the face of the loom. When it is time to weave the next row, repeat the process in the opposite order. Note: you may want to wrap the end of the yarn with a piece of tape while you weave. More experienced weavers may want to use a tapestry needle or another blunt-tipped needle.
When it is time to switch yarn, weave the end of the yarn back in a few rows, leaving a tail of two to three inches. Once you have completed a few more rows, you can trim the tail.
Experiment with different types of yarn or other found materials.
How does the weaving pattern change based on the material you use?
Tie it Up!
Continue weaving until there is only about three inches left on the bottom of your loom. Clip the bottom ends of your warp yarn and tie off in a double knot before removing from the loom.
Tie the top ends of the warp yarn off as with the bottom, or keep the loops intact to provide a natural hanging method.


